How to Level a Yard, Lawn or Garden
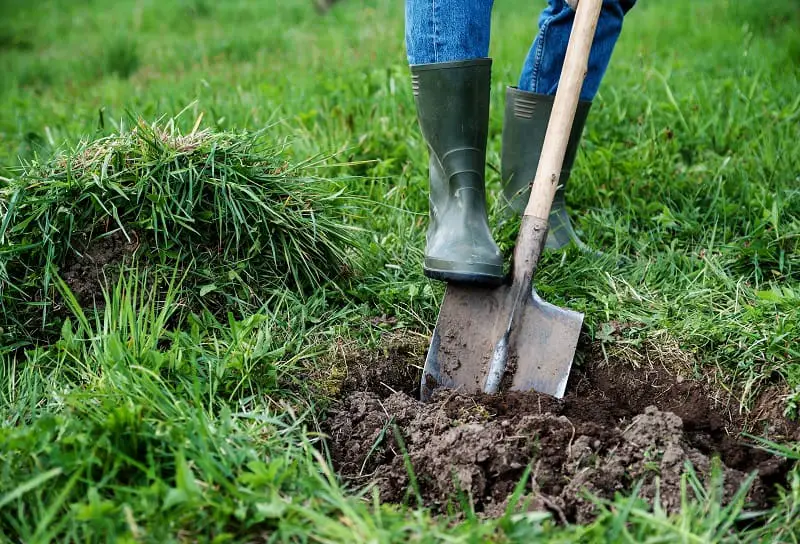
It may seem like a lot of work, but leveling your yard isn't as hard as it seems
Quick Navigation
DO YOU GET TIRED OF walking across your lawn watching out for divots that are deep enough to break an ankle? Is the slope in your garden so steep that the water runs downhill before it has a chance to soak in and do any good? If you not sure how to level a yard, follow along as I go through the tools and steps needed to cure this problem once and for all.
Both my front and back yards were a mess when we first moved in. But with a little hard work, the right tools, and a little dedication, you can have a nice smooth lawn and gardens that suffer little in the way of runoff.
The #1 Thing to Remember
The most important thing to remember is the soil needs to be moist before you get started. If your soil is dry and dusty, you need to water it until it is moist to a depth of at least 6 inches.
But at the same time, if your soil is too wet, it will be hard to work with. In this case, you will need to wait until it has enough time to dry out a bit. Wet soil is very heavy and can be hard to work with.
Tools You Will Need to Level Your Yard and Garden
The first step in learning how to level a yard or garden is knowing what tools you will need to get the done and done right the first time. No one wants to have to re-level their lawn once the sod has been laid or the seed has started to grow.
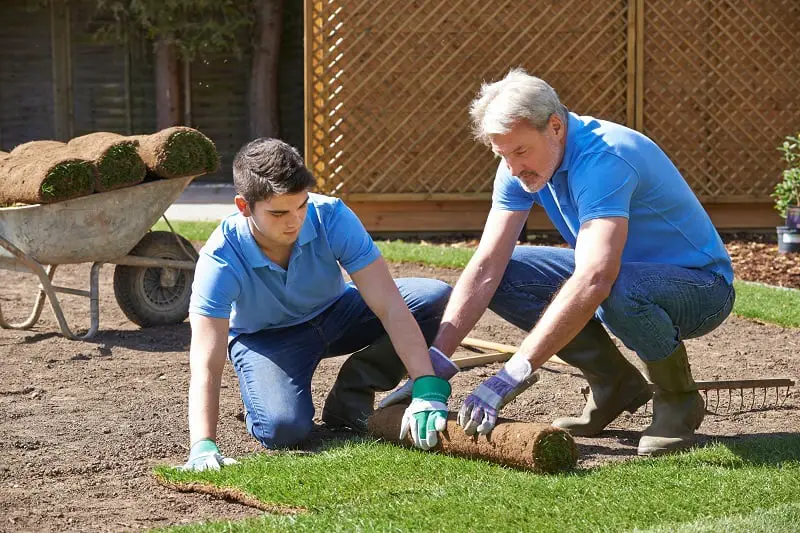
Laying the lawn is the easy part, it's getting everything level beforehand that takes time, skill and cause frustration.
So, let's take a good look at the tools you will need:
- A good wheelbarrow to move soil from one spot to another - possibly and electric one
- A long-handled shovel with a square blade
- Long handled landscapers rake
- An 8-foot length of 2 x 4 lumber
- A 3-foot carpenter's level
- A tiller (optional depending on how much land you are trying to level)
- A water-filled roller
- A good pair of heavy-duty gloves
Alternative tools:
- Hammer
- Stakes
- String
- Measuring tape
Remember that a landscaping rake should have a head that is approximately 3 feet wide and has heavy duty tines made for dragging large amounts of dirt.
Leveling Bare Ground
If you are putting in a new garden, laying new sod, or simply planting grass seed on bare land, you must level the ground first. The first step is to mark off the area you plan to work with and then determine how out of level it happens to be. There are two methods of doing this:
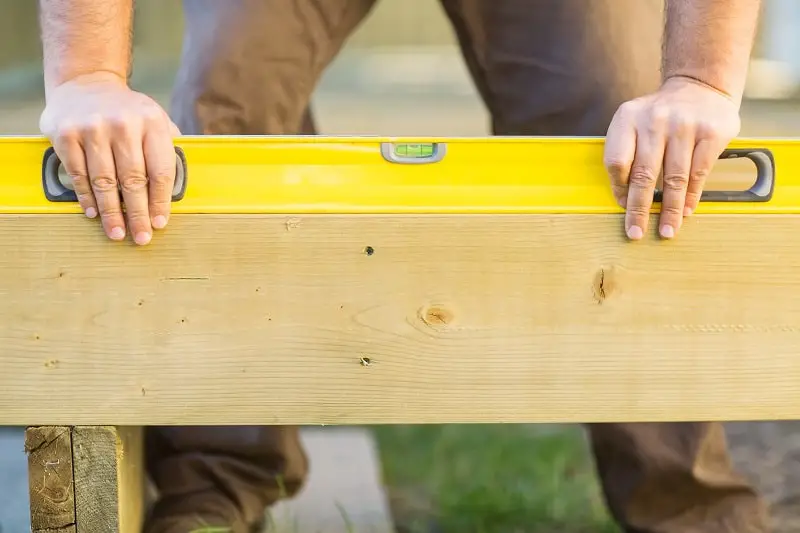
Using a larger piece of lumber underneath your level will extend it and can make the job easier
Method #1 - Using a Spirit Level
If you have never used a spirit of carpenter's level, it is a simple device consisting of a 36-inch long aluminum bar with three different bubble indicators mounted on it. One is for horizontal, one is for vertical level, and one is for measuring a 45-degree angle.
As you can see, 'the bubble' on the level has two lines on it and a bubble that floats in the liquid. When the bubble is centered between the lines, the item you are measuring is level.
To use your spirit level on a large patch of dirt, simply add an 8-foot 2 x 4 (or any long, straight piece of material) underneath your level. This way, you can measure over a longer area of your yard. (Look down the length of the 2 x 4 to check it is straight before using)
To start leveling, simply place the 2 x 4 assembly across the ground and check for level. Be sure to check in both directions and allow for one edge to be slightly lower to assist with drainage.
This method works best for freshly tilled soil that is mostly flat and all you are trying to do is determine any slopes. You can use it for lawns and gardens with equal effectiveness.
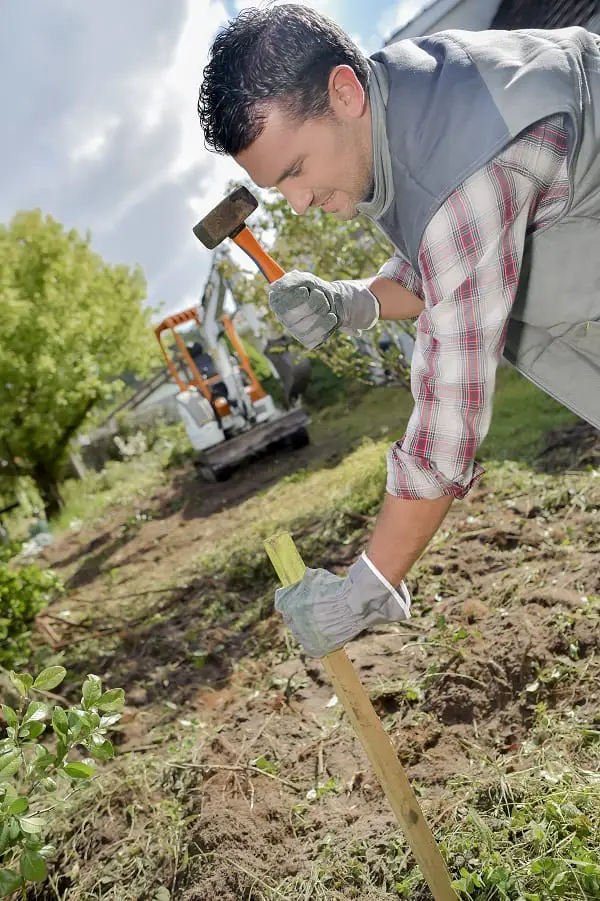
Method #2 - Using Stakes and a String Line
This method can be used on new ground for lawns or gardens and to help you find low and high spots.
- Hammer a stake into the ground at the highest point in your yard
- Hammer a stake into the ground at the lowest point in your yard
- Tie a string between stakes making sure it is pulled nice and tight
- Place a line level on the string line to ensure the string is level. (Not sure what a line level is, here is an example)
- Then measure the height of the string on both stakes to help you determine how much of slope you have to deal with
If you are looking for high and low spots there are a few extra steps:
The steps are the same up to the point where the string is level.
Then use a tape measure to help you find the low and high spots along the line (you will need to repeat this at regular intervals all the way across the yard).
The best way to do this is to create a grid search pattern and write down the measurements based on where they were taken on a grid.
It might look something like this:
| End of Yard | Side of Yard | |||||||
| 6 | 4 | 4 | 2 | 2 | ||||
| 5 | 3 | 3 | 2 | 2 | ||||
| 3 | 3 | 3 | ||||||
| 3 | 3 | 3 | ||||||
| 4 | 4 | 3 | ||||||
| 5 | 5 | 3 | ||||||
- Red numbers indicate low spots
- Green numbers indicate high spots
- All measurements are in inches
While this might be a bit time consuming (as in taking a few hours), if you are truly intent on having a nice even lawn to mow or play on, this is the best way. You can also use this method to help you create a perfectly flat garden.
6 Steps to a Flat Lawn
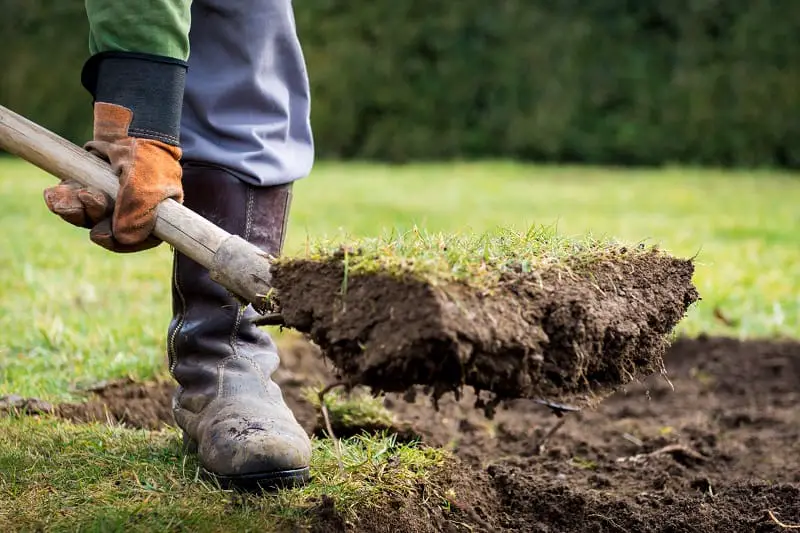
If you are working on a small patch of your lawn that needs to be leveled up to meet the rest of it, remove the grass by cutting under it with a shovel and removing it like sod. Set the grass aside to replace once you have created a level area. If you are working with bare ground, can skip this step.
- Cover the bare ground with a mixture of topsoil, sand, and either compost, manure, or fertilizer. You need the soil to be nutrient rich in order to give your lawn a good start
- Using your landscaper's rake, spread the mixture out until it covers the entire area in what looks to be a uniform layer. You can use the string and measuring tape method above to keep an eye on how level your new soil is
- Using a water-filled roller, tamp the soil down (if you are working on a very small area you can use your foot)
- Mist the soil with water until it is nice and damp (it does not need to be soaked)
- Leave to settle for 48 hours
- Measure at multiple spots and correct any low or high spots you find using the same mixture and tamp in place.
How Long Will it Take?
Depending on how fussy you want to be (it took me a week to get my yard where I wanted it to be, but then I'm a bit OCD when it comes to things like this), you may have to make several adjustments using the method above.
Remember, the more you do at the beginning the fewer problems you are likely to have in the end.
Once you are satisfied that you have finally figured out how to level a yard, you can replace the sod previously removed, install all new sod, or plant with grass seed. All you have to do now is wait for your perfectly flat lawn to grow in green and healthy.
What If You Have a Few Low Spots in an Existing Lawn?
Wait!
You don’t need to learn how to level a yard starting with bare ground. If you are only worried about patching a few low or high spots in your lawn, the whole process is very similar to leveling bare ground. Let's take a closer look at the whole process.
First, you need to use the stake and string line method above to create your working grid of high and low spots. In most cases, you will have more low spots than high ones.
Low Spots
- Cut the sod from these spots carefully and set them aside
- Using a mixture of manure/compost, topsoil, and sand, fill in the spot to a point just far enough below the surrounding ground to allow the sod to be replaced
- Stamp this area down using your foot and then mist with water to help it settle
- Wait 48 hours and check to make sure it hasn't settled too much (if it has, simply add more soil and repeat the process)
- Once the area is level and just below flush, replace the sod and stamp it down
- Water the area and let the grass root in place
A fun video that shows how this is done:
High Spots
These have to be treated a little differently as there is already too much soil in place.
- Cut the sod from the area and set aside for future use
- Using a shovel slowly reduce the height of the soil by removing it one shovelful at a time
- Continue doing this until the entire area is level just below the surface, leaving just enough room for you to replace the sod
- Water the area and allow it to sit for 48 hours
- Recheck your measurements and level
- If all is good (by now it should be) replace the sod, tamp down, and water
This guy makes it sound easy:
For both situations, be sure to save a little of that topsoil mix to fill in any gaps where the edges of the sod meet. You should also use your preferred method to check your yard or garden for level once everything has been done.
Important Notes
- Be sure that your yard or garden retains a slope to ensure excess water runs off such as rain, ice, and snow.
- Watering the area you plan to level a day or two beforehand can make it easier to dig.
- Always wear closed-toe shoes when you are working with a shovel or a pickaxe for the safety of your toes.
- Always wear gloves to protect your hands.
- You can use a string level setup for any distance, it doesn't matter if its 30 feet or 300 feet.
On the Level
Okay, so you probably started out thinking you had to hire someone to level your yard, right? Now that you see how easy it can be if someone just gives you the right information, you probably can't wait to get started.
I hope this information and the accompanying videos help make learning how to level a yard a little bit easier for you. The most important thing to remember is that perfection takes time, be patient, work slowly and methodically and your yard will finally be perfectly level.
Thanks for reading this guide on how to level a yard, lawn or garden. You can keep in contact with us here on facebook or pinterest
Related Articles:
