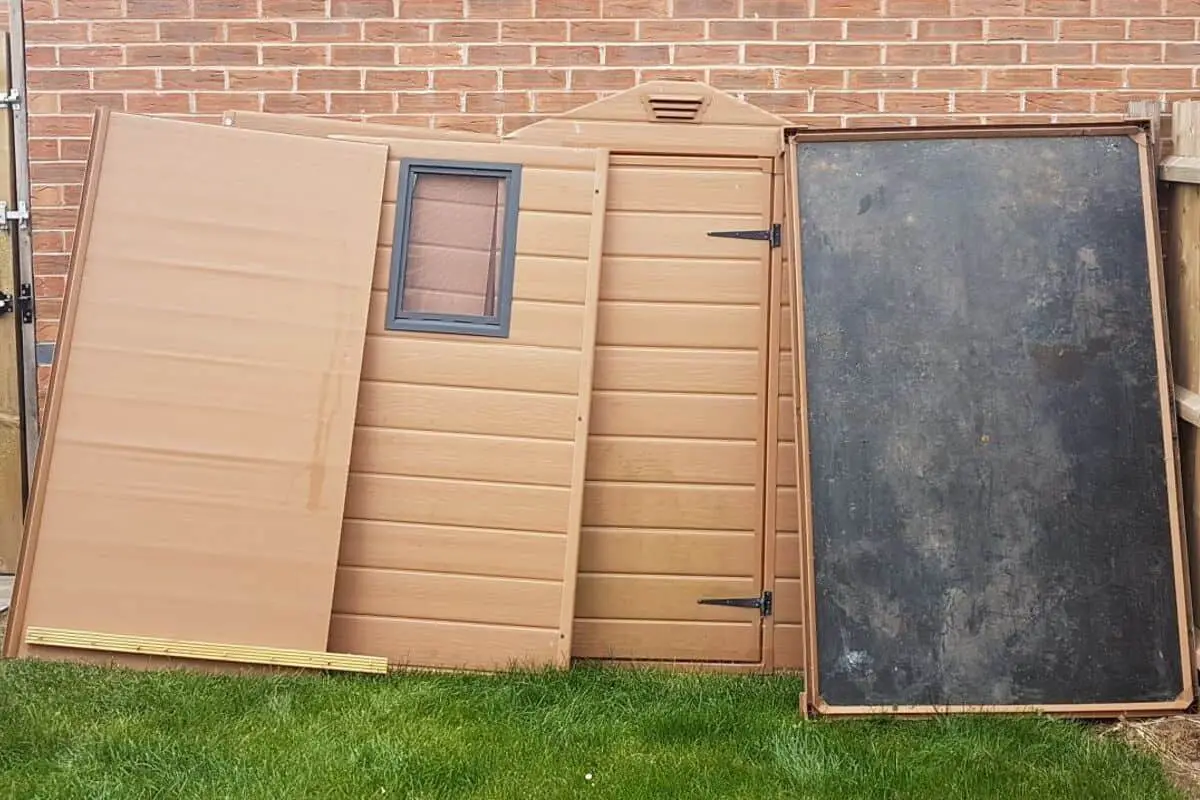
Assembling a Plastic Shed Kit

Plastic shed assembly
Quick Navigation
PLASTIC SHEDS CAN BE TOUGH to assemble with bad instructions. So to make it easier we have found videos about assembling plastic sheds about the 4 large manufacturers.
If you are having trouble building a plastic shed, then look below for your manufacturer, and watch the video.
By the way if you haven't got a plastic shed to put in your backyard yet, take a look at the best picks of cheap plastic sheds and the most popular 6x4 plastic sheds and 8x6 plastic sheds.
Lifetime
Rubbermaid
Keter
Suncast
Plastic sheds are a great easy solution. They are easy to own and easy to assemble.
Building a plastic shed should take you and a helper less than one day to construct. It also doesn't require many tools, and is non-DIY friendly.
Tips for building your plastic shed kit
- Use your own, or borrow an electric drill. Many manufacturers say to use a screwdriver only, but electric drills with clutches are safe, and save a lot of time.
- Count your pieces as soon as you get them. It's not uncommon for some kits to go without enough screws or bolts.
- Use dish soap or WD40 to help stubborn joins go together
- Sometimes using a block of wood under the wall joins can help them go in easier
- Don't leave your plastic panels around in the sun. The heat can make them expand so they wont fit when you try to assemble them. On hot days leave the shed parts in the shade.
- Plastic can also contract in the cold. So do not install the shed in very cold weather.
- You will need to fasten plastic sheds to their foundation if you expect windy conditions. If they are tall, they can blow over. The best way to anchor them is drill them into the concrete or timber base. If your shed is sitting on gravel or sand, then a few large stakes pushed through holes in the floor will hold the shed.
Thanks for reading.
If you have any comments then please leave us a message!
Related Articles:
