The 6 Most Popular Shed Foundations – Reviewed
Quick Navigation
Making a strong start…
We think foundations are a very important part of your new shed. Why are foundations so important? THE FOUNDATION SUPPORTS THE WALLS, and the walls support the roof of the shed. And the supported roof is why you are building a shed in the first place!
This makes choosing the right foundation important. If you get it wrong, you get a sloping shed which is ugly and sticks out like a sore thumb.
And besides, no one wants their beer to slide off the shelf in their shed. It's not a good look in front of the neighbors.
Foundations are also a pain in the butt to fix; it usually involves getting unnecessarily dirty. So IT'S NOT SOMETHING YOU WANT TO DO TWICE.
Because it’s so vital, to make deciding easy we’ve sorted shed foundations by what’s important.
This way your shed will stand the test of time… upright.
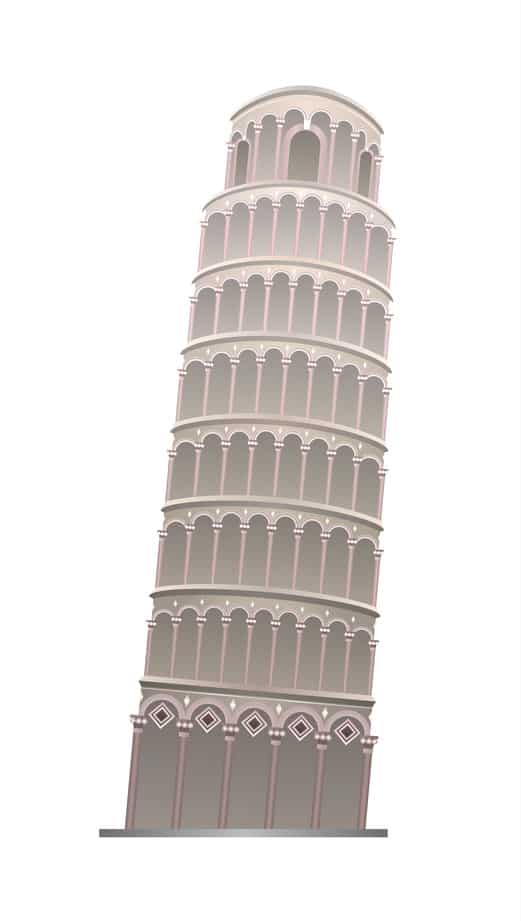
Bad foundations are good as a tourist attraction, but not for your shed
*some counties and cities have regulations regarding shed foundations. Check out where you stand before beginning your build here.
Reveal Comparison Table
Flat Ground
Why not just stick it straight on the ground?
Although it is definitely the quickest and cheapest option, sticking your shed straight on the dirt definitely has its cons.
Firstly the exposed dirt will make the things in your shed dirty, and WATER WILL ALSO SEEP THROUGH THE GROUND and make the dirt floor of your shed wet. This moisture will lead to rot and corrosion which will wear away at the shed over time.
Metal and plastic sheds that are put on the ground are typically fixed with metal stakes or tent pegs through the sidewalls of the shed. The longer the anchor, the better the stability of it.
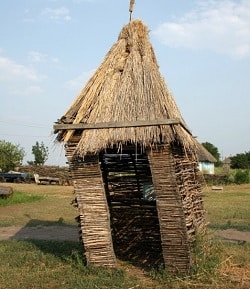
FABRIC SHEDS ARE DESIGNED TO SIT ON DIRT and come with all the necessary anchors. The fabric construction is forgiving of movement whereas more rigid materials (wood, metal, plastic) are not.
Overall
Because the uneven nature of typical yards, putting a shed straight on the ground can affect how the panels fit together, and how the doors and windows work. This ultimately LEADS TO A SHORTER LIFE FOR YOUR SHED
| PROS | CONS |
| Quickest option | Shed will corrode and rot |
| Cheapest option | Expect grass and weeds |
| Doors wont work properly |
Gravel
Looking for low cost and easy to do?
Gravel is an easy solution for a shed base, and works well with small to medium sized storage sheds, particularly metal, plastic and fabric ones. If you have all the materials THE PROCESS SHOULDN'T TAKE MORE THAN 2 HOURS (depending on the size of your shed.)
All you need to do is dig a hole the same footprint as your shed, and around 3 to 4 inches deep. Then pour the gravel or crushed rock in. As you pour the gravel in, you will want to keep pressing it down by stepping on it or using something heavy to apply that downward pressure.
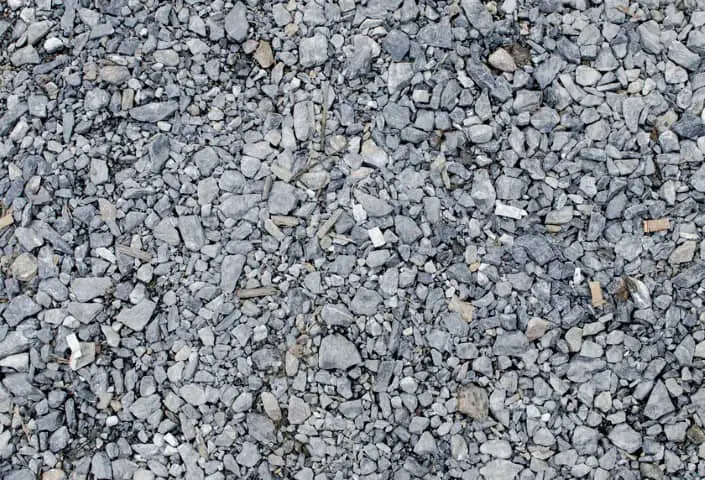
You can attach your shed directly to the gravel with pegs or auger anchors (the longer the better). This is definitely the easier option, although gravel bases also provide support with other foundations, such as a wooden frame, or concrete slab.
Overall
MUCH BETTER THAN STRAIGHT GROUND, but also does have its disadvantages.
| PROS | CONS |
| Low cost | Can make equipment dirty |
| Easy to do | Gets quite cold |
| Provides a stable flat surface | Can get wet inside |
Want to put in a gravel shed foundation? Here is how you do it
Kit from manufacturer
Already thought out for you…
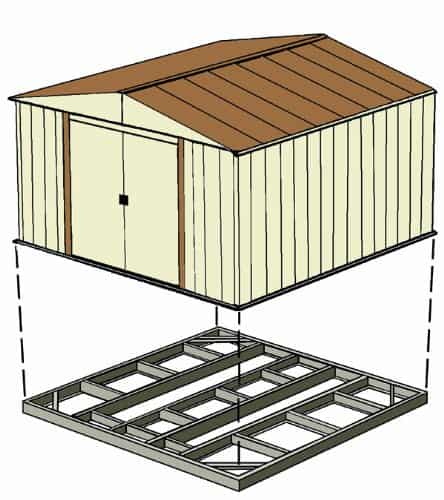
Some sheds can be built with a supplied (or added extra) foundation kit. These kits can go on gravel, but typically they get put straight on the ground.
The KITS DO NEED TO BE INSTALLED ON A FLAT, LEVEL SURFACE (so that the panels fit together and the doors work). They do work best on flat surfaces; altering these kits to a sloped surface can be hard work, harder than its worth.
f you are going to use a kit, be warned that you may have to purchase some added extras. Arrow sells a floor kit that requires you to provide the cut plywood for example, so if you’re on a budget, using a kit may cost more than its list price.
Kits (such as these) also come in many different sizes so pick the one that is right for your shed size.
Overall
An easy, tailored solution for your storage shed. IT SHOULD TAKE YOU ABOUT 2 HOURS TO ASSEMBLE YOUR KIT.
| PROS | CONS |
| Specially made for your shed | Added extras |
| Cost effective | Needs level ground |
| Easy to assemble |
Pavers
A great way to get a strong base, quick and cheap.
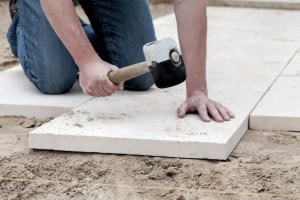
You can buy large pavers from hardware stores like Home Depot and Lowes. Once you have got everything you need, you can LAY YOUR PAVER FOUNDATION IN LESS THAN 2 HOURS.
All you need to do is put some gravel or brickies sand down and level off the area. Then place some plastic down to help waterproof your shed, then lay your pavers on top. To secure the shed, simply dyna-bolt the shed down to the pavers.
Pavers also prefer a gravel base, but can go straight on flat, level
ground. Putting a layer of gravel down first will stop the pavers from sinking over time. Smaller pavers are more susceptible to sinking than larger pavers.
Overall
Pavers work best for smaller, storage type sheds. The benefit is that they keep your equipment off the dirt and they are very durable. ONCE THEY ARE DOWN, THEY WILL STAY DOWN.
| PROS | CONS |
| Easy and quick to lay | Can sink over time |
| Easy to secure shed to pavers | Not for larger sheds |
Here's a step-by-step guide to laying a paver shed foundation
FIND OUT HOW to keep your shed foundation waterproof and keep the water from seeping into your shed with our simple 3 page report. Mail Subscribers receive it free. Download here.
Timber frame / Piers
The carpenters choice
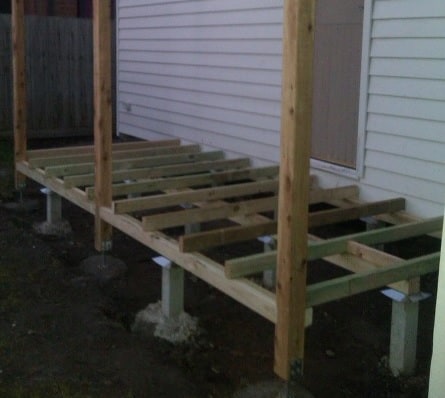
Timber frame bases are quite popular for sheds. They are easy to put together, PROVIDE A STRONG PLATFORM, and are relatively easy to level.
Your frames must be made from lumber for outdoor use. Treated pine and cedar are two that come to mind. Once you have the correct lumber, BUILDING THE FRAME IS EASY. All you need to do is cut it to size, and screw it together.
Timber frames can sit straight on the ground, although it is not recommended. There are a 2 main ways that timber frames sit on the ground; Piers and Pavers.
Piers
Piers are supports that are dug into the ground and set to a common, level height. The frame then sits above the ground.
To strengthen piers, you can concrete them into the ground. This helps spread the load and adds longevity to the foundation.
The big draw card for piers is that the shed is above the ground so it is kept dry at all times. It can however, take a little time to set up the piers properly. But per square foot it is a cheaper option than a concrete slab.
Want more info on piers? Here is an article on how to install a pier foundation
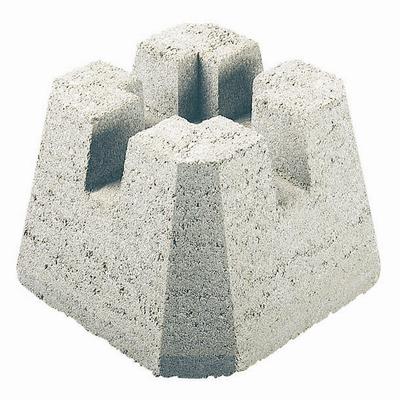
Pavers
Pavers can be used to level up a shed and work quite well. They can be a cheap solution, especially when you have some lying around the yard. They are a quicker and easier solution than piers, and can be moved later. The downside is that it is hard to fix the frame to the pavers.
Overall
Timber frames are a very popular way of supporting a shed. They are STRONG, GOOD VALUE, AND RELATIVELY EASY TO ASSEMBLE.
| PROS | CONS |
| Strong foundation | Piers are time and money intensive |
| Easy to build | Pavers are hard to secure to the ground |
| Durable if right lumber is used |
Concrete Slab
Strong, flat and level…
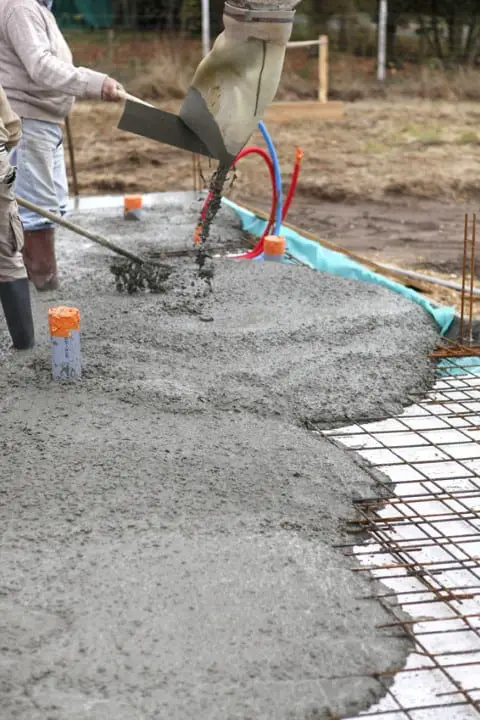
Concrete is a strong, flat base for a shed. Its weight also helps KEEP THE SHED SECURED TO THE GROUND.
It is commonly used for houses, factories and large warehouses. It is good to work on and provides a strong base to attach the shed walls and anything else you want to.
If you are thinking of using a concrete foundation then you will have to plan it ahead of time. Concrete takes at least a month to fully set, although it will be ready to work on after 5-7 days.
You can do it yourself, although a landscaper, builder or concreters experience will help. We recommend that you will use 25Mpa concrete with some steel reinforcing mesh to help hold it together. Start to finish (not including drying time) WILL TAKE YOU AROUND 4 – 6 HOURS.
Overall
In our opinion, THE BEST FOUNDATION FOR ANY SHED, provided you have the time and funds.
| PROS | CONS |
| Very strong | A little costly |
| Durable | Can take some experience/expertise |
| Easy to customize to your own needs | Takes time to set |
Click here for more information on pouring a concrete slab for a shed
Thanks for reading.
Any thoughts comments or queries, why not contact us?
Related Articles:

