How to Prepare Soil for Planting
Why Preparation of Soil is so Important and How to Do it Right in Your Garden


Learn how to prepare soil for planting to be able to produce a bountiful harvest…
Quick Navigation
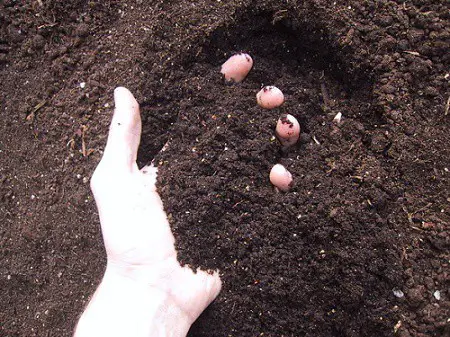
F YOU ARE LIKE ME, you started your journey to becoming a successful gardener by digging up a patch of the lawn in anticipation of being able to grow plenty of tasty vegetables for the family.
However, unless you are very lucky (I am not), your soil is probably not ready to plant seeds as it takes good healthy soil for just about anything to grow. I spent countless hours learning how important preparation of soil is for planting and how to do it properly to ensure my plants had the best possible chance of success.
Here's the Rub

A cross section of a typical plants root system
It takes several things in order for your new garden to produce a bountiful harvest. Of course, it needs to be in a place where everything can get plenty of sun and you need to be able to supply your growing plants with the perfect amount of water.
There is one more vital ingredient your garden needs if you want your plants to flourish. This is good healthy soil that is full of nutrients vital to the health of your plants.
The soil needs to be loose and well-aerated for your root plants. It should also hold moisture and at the same time drain well to help avoid root rot. It should also be full of a range of living creatures, including earthworms, fungi, and bacteria, all of which will help to improve and maintain the quality of the soil.
Before you can learn how to prepare your soil for planting, you need to know how healthy or unhealthy it is.
How Healthy is Your Soil?
There are over 17 different elements that play an important part in how well your plants will grow. Of these, there are three that sit at the top of the list, nitrogen, phosphorus, and potassium.
According to plant scientists, these elements are known as primary or macronutrients. Your plants will take these from the soil in your garden in large quantities.
There are also a number of secondary nutrients your plants are going to need, calcium, magnesium, and sulfur. Other necessary nutrients include boron, copper, iron manganese, zinc, and more. Some, like cobalt, may not be used by many plants, but legumes use cobalt to help fix nitrogen.
The other thing you need to consider with regard to the health of your soil in its balance of acidity and alkalinity or pH. How do you determine the overall health of your soil? You have it tested.
Have You Tested Your Soil Lately?
Soil testing is where gardening meets High School Science. To test your soil you will need a kit or a gauge of some type. Here is a more indepth look at ph testers. They are available from the usual suspects including amazon.com. Depending on the kit you get, you can test the pH balance of your soil along with the levels of certain essential nutrients such as phosphorus, magnesium, potassium, calcium, and in certain cases nitrogen.
These kits and gauges do make it much easier for you to keep an eye on the health of your soil. They are also good for troubleshooting any problems that you might have later on.

Environmental Concepts 1662 Soil Test Kit
The most important test (in my opinion) is the pH balance. Basically, your soil needs to be at a pH level of between 6.5 and 6.8. Anything below 6.0 is considered acidic and anything above 7.0 is considered alkaline.
In either case, if your soil is too acidic or alkaline, your plants will not be able to absorb the necessary nutrients and will not grow. Because the particular nutrient the plant wants will not live in the soil.
The best time to test your soil is in the spring before you plant or in the fall when growing season is over as these are the times when your soil is at its most stable. These are also the perfect time to add any soil amendments or fertilizers it may need in order to restore its health.
Although if you are experiencing issues, then it's always a good to start testing.
Different Types and Textures of Soil

Different cross sections of common soil types
Along with the overall health of your soil, you need to take a good close look at the texture. The texture of your soil is determined by the amounts of clay, sand, and silt it contains.
Here is an easy to understand test you can use to determine what type of soil you have, NASA' Soil Science Education Page.
If your soil contains high levels of sand, it will feel gritty in your hands, too much silt and the soil will feel powdery when dry or slippery when wet.
Clay is relatively obvious as the pieces tend to be flat and sticky. The clay will make your soil feel heavy and sticky, but if it is dry, the soil may feel rough.
- Sandy Soil: Water and nutrients drain out quickly creating nutrient-poor soil that is low in beneficial organic matters and microbes.
- Silty Soil: Soils high in silt tend to be very dense and slow to drain. They are considered the most fertile.
- Heavy Clay Soil: These soils are also quite dense and have a hard time draining, they are also very hard and full of cracks when dry. They typically don't contain much in the way of organic matter or microbial life.
How to Improve Your Soil for Planting
If you really want to know how to improve soil for planting, there are two different approaches to the problem.
The first is to do so naturally using organic matter such as aged manure or compost. You can also use mulch or cover crops when it is not planted. This is the best possible way to improve the health of your soil.
Alternatively, you can use a variety of chemical fertilizers to replace and replenish the nutrients your soil is missing. The only real problem with doing things this way is that no matter how good the fertilizer you buy is, it can only replace certain nutrients and even then, only in small quantities that your plants will soon exhaust.
Using organic matter is a much better choice as it is capable of providing your plants with everything they are ever likely to need.
Let's take a good look at the various things your garden needs to be filled with good healthy soil that will provide you with bumper crops each and every year.
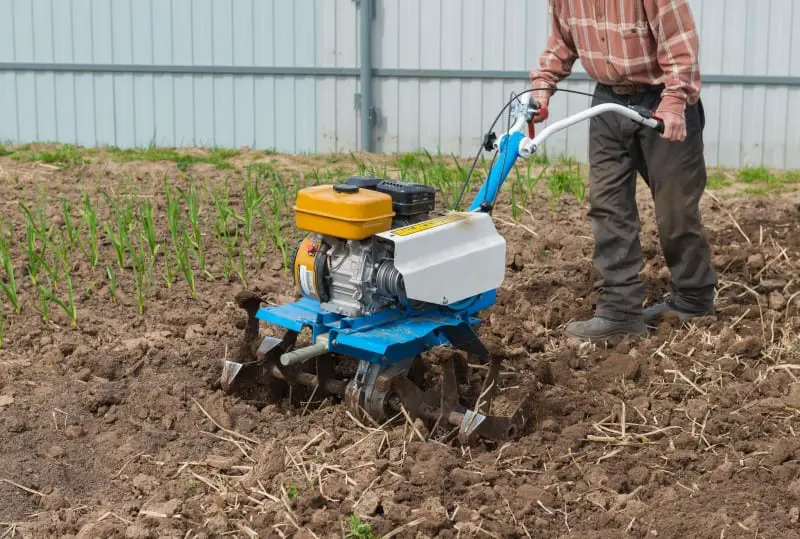
If you have a large space you can use a hand or power tiller to help aerate soil
Your Soil Needs Air
Just like you and me, your plants need plenty of air to grow. This includes via photosynthesis above ground and mixed into the soil below ground.
The air in your soil hangs onto atmospheric nitrogen which your plants can convert into a usable form. The microorganisms in your soil also depend on oxygen to live.
Good healthy soil should be able to hold plenty of air in between the particles, the best way to achieve this is with plenty of organic matter such as compost and to avoid stepping on the soil or going over it with heavy equipment.
Healthy soil should contain approximately 25% air.
Your Soil Needs Plenty of Water
Practically every form of life on the planet depends on water to survive and thrive.
Healthy soil should contain approximately 25% water. If your soil is sandy, it will drain too quickly, on the other hand, if it contains too much clay, it will not drain quickly enough.
Here again adding plenty of organic matter is the best way to improve the overall structure of your soil. Compost will also help to hold water longer so that it is available when your plants need it.

Life in Your Soil
Your soil should also be home to a large number of living organisms. Their job is to make the various nutrients readily available to your plants and to help bind the soil particles together into something called aggregates that keep your soil fluffy and loose.
Among the most common organisms found in a healthy garden are:
- Bacteria
- Earthworms
- Fungi
- Mites
- Nematodes
- Protozoa
- Many more
While most of these organisms are naturally occurring, you can also buy them to add to your garden. Bear in mind that unless your soil is healthy, most of them will not survive for very long.
The best way to ensure your garden has plenty of these life-giving organisms is to create the perfect home for them by providing them with things they need to thrive. These are air, water, and food in the form of organic matter.
Different Ways to Improve Your Soil
As I said above, there are several ways you can go about improving the quality of your soil ranging from natural organic materials to chemical fertilizers that are anything but natural. In fact, many of the different chemical fertilizers can end up doing more harm than good if you do not use them properly.
Let's Look at Organic Matter
The simple fact is that virtually any garden soil can be improved by adding compost (a natural organic matter) to it. The texture of both silty and sandy soils along with their levels of nutrients can be significantly improved by adding plenty of good healthy compost.
When you add compost each spring to the soil, it only adds to its overall health. You can buy compost from your local garden center (be sure you buy compost that is labeled as organic) or you can make it yourself.
Making your own compost is not hard. You simply pick a place in your garden for a compost pile. I picked a spot at the back out of the way near the back fence.

You can also buy several different composters that work very well. Compost is made up of brown layers (old leaves, hay, straw, etc.) and green layers (grass clippings, food waste, livestock manure, etc.). You need to keep the pile moist and turn it over from time to time to allow the composting process to occur.

Here is a quick video that covers why using organic matter is so important for improving the quality of your soil:
Now for a Look at Mulch for Your Garden
Mulch consists of things like grass clippings, straw, and shredded bark that are used to cover the surface of your garden's soil. This will help to protect the soil from extremes in both heat and cold, which can damage the soil and the many lifeforms in it. Using mulch also helps to slow down water loss through evaporation and helps to reduce the growth of weeds by blocking the light they need to grow.
Here is an in-depth article by the Clemson University Cooperative Extension Service covering mulch and the best ways to make and use it.
While organic mulch is obviously your best choice, there are a number of other inorganic forms as well. These include gravel, landscaping fabrics, black plastic sheeting, and pebbles.
The one good thing is that these types of mulch do not need to be replaced each year. But at the same time, they do not break down and provide your soil with added nutrients. The one good thing about them is that they do not attract bugs and rodents.
For myself, I prefer to go the all-natural route and use organic methods. The cheapest I've found is wood chips from pine trees. You can typically find them in local classifieds being given away or sold for little money.
What about Fertilizers?
Fertilizers come in both organic and non-organic forms. Both have their advantages, but when you stop to consider the fact that chemical fertilizers have been proven to be bad for the environment and to kill off many of the microorganisms that are vital to the health of your garden, should you use them?
Good quality organic fertilizers may work a little slower than the chemical ones, this, of course, means they will continue to release their store of vital nutrients over a longer period of time. Both types of fertilizer are available in liquid and powder forms.
You mix dry fertilizers into the soil in accordance with the instructions on the label and then water the ground. These types of fertilizer work more slowly than the liquid ones, but they also last significantly longer.
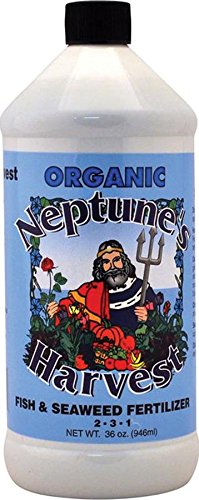
An example of an organic seaweed based liquid fertilizer. Simply mix with water in your watering can and apply. Image courtesy of Neptune's Harvest
Liquid fertilizers are typically sprayed directly on the plants or the soil itself. Among the most popular liquid fertilizers are:
- Fish emulsion
- Seaweed blends
- Compost teas
When applying liquid fertilizers, you must be sure to spray the undersides of the leaves as well as the tops. The reason for this is that this is where the stomata (microscopic openings in the plants used to absorb gasses) are located. When these pores open to absorb carbon dioxide, they will also absorb the fertilizer.
Be sure to read the instructions on the label very carefully as it is possible to burn your plants. There are also some liquid fertilizers that can only be applied directly to the soil.
What about Your Soil's pH Level?
One of the most important things you need to know about adjusting the pH level of your soil is that it is not going to happen overnight or with one application of the latest “wonder” product.
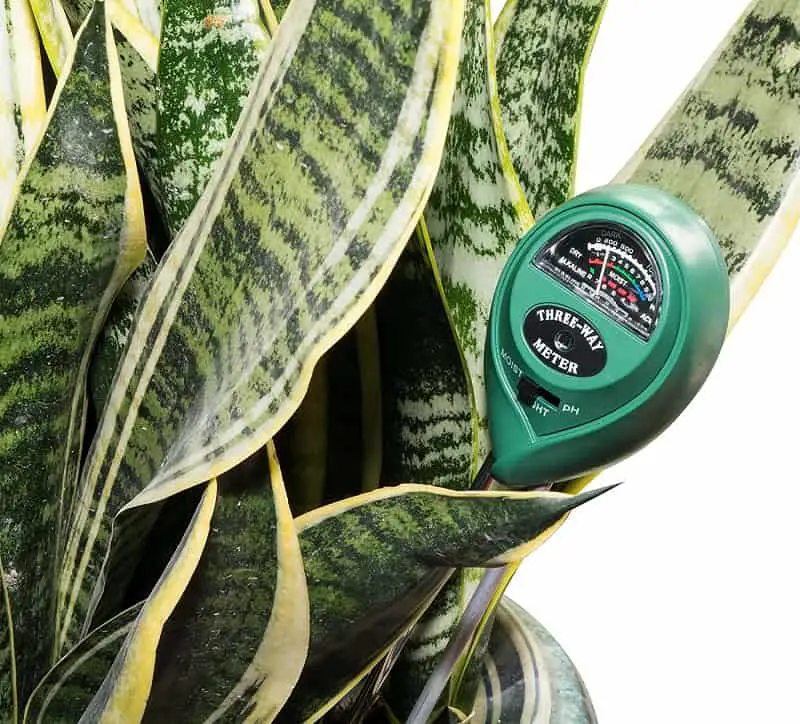
The easiest way to test your ph level in soil is with a guage like this one. Image courtesy of Amado
It can take two or more seasons for you to regulate the pH level of your soil. Once you do get the level with the recommended numbers, you will need to work to maintain it each year.
It doesn't matter whether your soil is too acidic or alkaline, you can balance the pH level out by adding plenty of good healthy organic material every year to it. However, there are a few other tricks you can use to adjust the pH level.
Limestone: if your soil is highly acidic, you can add limestone to it and bring the acid levels down. A good rule of thumb to raise the pH level is:
- Sandy soil needs 3 to 4 pounds of lime per 100 square feet
- Loamy soil needs 7 to 8 pounds of lime per 100 square feet
- Heavy clay soil needs 8 to 10 pounds of lime per 100 square feet
You can also use wood ash (from your fireplace or wood burning stove) to raise the pH but you have to be very careful. This is because adding too much ash can leach nutrients from your soil and raise the pH too high.
You should do what I do and spread a thin layer on top of the soil in the fall when your garden is done for the year and then lightly dig it into the soil. Be sure to keep a close eye on your soil's pH level every year to make sure you are not adding too much ash.
If your soil is too alkaline, you can bring the pH level down by adding a number of different substances such as:
- Pine needles
- Sawdust
- Sulfur
- Oak leaves
Here are the recommended amounts of sulfur to use:
- Sandy soil: 1 pound per 100 square foot
- Loamy soil: 1.5 to 2 pounds per square foot
- Heavy clay soil: 2 pounds per square foot
This video also covers ways to adjust the pH level of your soil:
Correcting Your Soil's Nutrient Deficiencies Naturally
There are several ways you can correct nutrient deficiencies in your soil. Each is based on the particular type of deficiency.
- Phosphorus levels: you can use pure bone meal for this. Available from slaughterhouses.
- Nitrogen levels: you can use blood meal for this. Also available from slaughterhouses.
- There are alternatives to both of these that are more pleasant to work with and more readily available.
- Instead of blood meal, you can use alfalfa meal or alfalfa pellets such as are sold as rabbit food. You can also create a cover crop by growing your own alfalfa which will help to add plenty of nitrogen and small amounts of potassium and phosphorus to your soil. Alfalfa also makes a great way to speed up your composting process.
- Cottonseed meal is readily available at most feed stores. It adds nitrogen to your soil, but it is relatively acidic and should be used along with limestone to help lower your pH level.
- Instead of bone meal, you can use soft-rock phosphate to help increase the levels of phosphate.
Finally, Let's Look at Adjusting the Texture of Your Soil

Image courtesy of Dorling Kindersley Limited
Since the texture of your soil is just as important as its overall nutritional health, we should take a quick look at what you can do to adjust its texture as the final part of my how to improve the texture of your soil guide.
Sandy soil: You can reduce the sandy texture of your soil by adding 3 to 4 inches of compost to soil and digging it in. Cover the soil with a 2-inch deep layer of organic mulch every year and then grow cover crops if you can. You can turn the cover crops under in the spring to add even more organic material to your soil.
Silty soil: The best way to adjust silty soil, is to add an inch of organic matter to it each year and do your best to avoid compacting it.
Heavy clay soil: You will need to add 2 to 3 inches of organic matter to the soil and then work it in thoroughly. Then each year add an additional inch each year and dig it in.
When All is Said and Done
The simple truth is that maintaining healthy soil in your garden is going to take some work. Very few of us are lucky enough to find perfect soil under the lawn when we dig up our garden space. The good news is that once you have achieved the desired results, it doesn't take a lot of work to maintain them.
Be sure to test your soil at least once in the spring and once in the fall to get a better idea of what is going on with it. This is the best thing you can do to ensure your plants are going to thrive and provide you with plenty of tasty fruits and vegetables.
If you have enjoyed reading about how to improve your soil please let me know.
If you have any information you would like to see here, please contact us here.
Let everyone know you enjoyed reading this on Facebook, Twitter, and Pinterest.
Thank you for reading this guide on soil preparation