How to Lay a Paver Shed Foundation
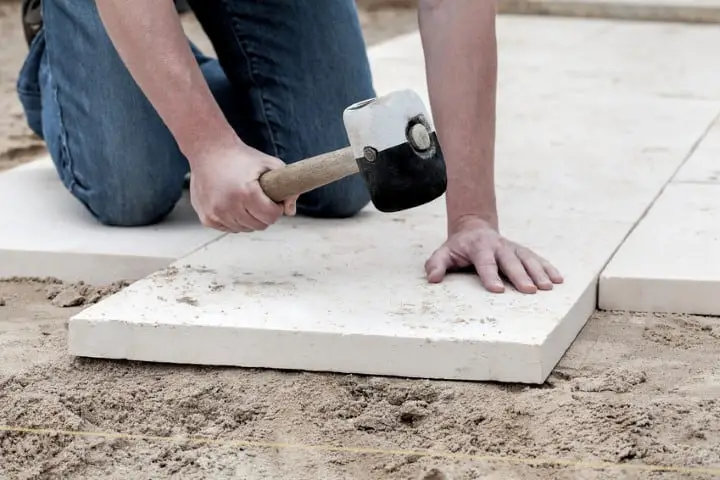
Installation of paving slabs
Quick Navigation
If you are planning to build or add a garden shed to your backyard, the most important step is to build a firm foundation for it to sit on.
A good paver shed foundation is the perfect base for your shed and not as hard to build as you might think.
First the Good News
Since building a paver shed foundation involves a certain amount of hard labor, it is always good to know just how much work you are going to be involved in.
The good news is that unless you are building a massive shed that is more like a barn than a shed, you should be able to complete this project in a weekend, leaving you with a little time at the end of each day for an ice-cold beer or two. On top of this, once your foundation is complete, it will be immediately ready for use, unlike concrete that needs time to cure before it can be used.
Before You Get Started
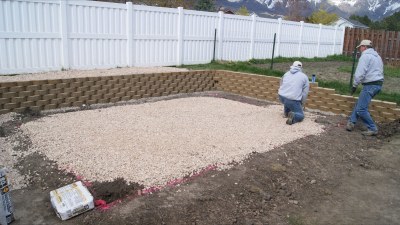
Shed Pavement Land Preparation - image courtesy of ShedKing.Net
Before you start building your garden shed or laying the paver shed foundation, you need to take a good look at the ground in the area you plan to install your new shed. There are a few things to be taken into consideration before you choose your final location.
Slope
If at all possible choose an area that is already reasonably level. Not only will this make building a level paver shed foundation much easier, it will take fewer materials and less time to build.
Drainage
You should never build any type of foundation on ground that does not drain well. Ground that is continuously wet or subjected to flowing water is only likely to erode potentially causing significant problems further down the line.
Too Hard to Dig
No matter how you plan to install the pavers, try to avoid ground that is simply too hard to dig in or has a lot of rocks just below the surface. All you will be doing is creating more work for yourself or putting yourself in an almost impossible position.
Soil That is Too Soft
It should go without saying that you should not pick an area of your yard or garden where the ground constantly remains wet and soft. At least if you don't want to see your paver shed foundation and shed to tilt into the ground.
Paving Slabs – Choosing the Right Ones
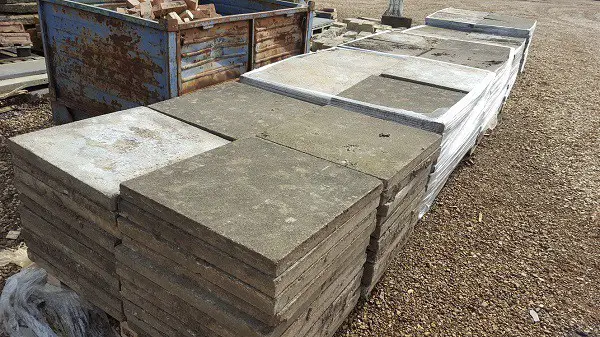
council paving slabs - Image courtesy of Watling Reclamation
The next good thing on our list is that pavers are very simple to find and come in an incredible array of sizes, shapes, and colors. You can go for the basic square concrete colored paver or step up to colors and patterns that extend beyond the walls of your shed to create a patio.
For the most part I prefer to use pavers that are 2 inches thick and 12 inches square. They are more than strong enough to support the shed when you build a proper paver shed foundation. At the same time, they are light enough for you to handle without too much strain. These should be readily available at your nearest discount hardware superstore or local garden store.
What Tools and Supplies Do You Need?
While you could simply lay the pavers on flat ground and call it a foundation, this is really not the best idea. But if you are going to build a paver shed foundation that will not only support the weight of your shed, but also last a lifetime, you will need a few tools and supplies to get the job done. These include:
- One or more bags of cement
- One of more bags of builder's cement
- A sufficient amount of gravel
- Several pegs and a roll of string
- A rubber mallet
- A spirit level and a long 2×4
- Sufficient pavers to cover the entire area
- Stout leather gloves
- Plastic or metal garden border
- Vibrating compactor (from the nearest rental store)
Getting Started
Since your new paver shed foundation must be built strong enough to last for many years, every step of the building process has to be completed carefully and exactly, starting with marking out the space you plan to use.
To do this mark out each side of the space forming a square. The easiest way to make sure all four corners are square is to measure the distance between each pair of diagonally opposed corners. If they are the same, your corners are square. This method will work for both square and rectangular shaped foundations.
It's Time to Start Digging
Now that you have the area needed for your foundation marked out, it's time to get started with the fun part. So, grab your favorite work gloves and shovel and start digging. You need to dig the area to a depth of approximately six inches. This will give enough space for the gravel base, the sand and cement filler, and the pavers, leaving them at or just above ground level.
Once you have the soil dug out to the appropriate level, it needs to be compacted. Break out that rented vibrating compactor and go to town. Depending on the size of your foundation, this shouldn't take very long. However, it is a very important step as your foundation needs a firm base to stand upon.
Add the Gravel
The next step is to add a one-inch layer of gravel to the hole. Be sure to use either 21A or 21B gravel as it contains fillers to help fill in the air gaps between the pieces of gravel providing you with a much firmer base.
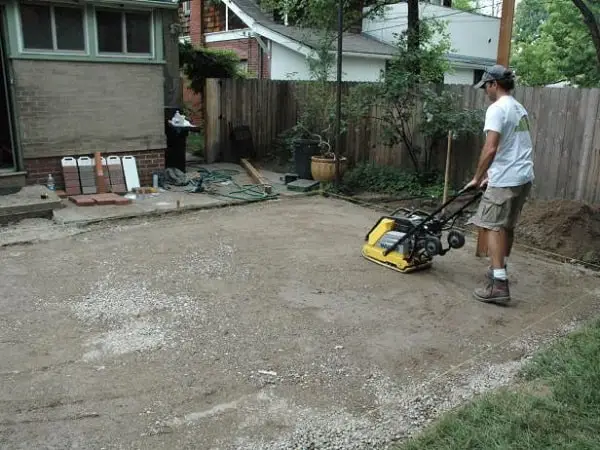
Gravel pavement - Image courtesy of DIY Network
Once again you need to use the compactor to pack the gravel in place and create a smooth flat surface. Be sure to check your gravel layer using the 2×4 and spirit level to ensure it is perfectly level before proceeding to the next step.
Time for Sand
Mix together the sand and cement and then add a 2-inch layer of this mixture to the gravel. Smooth out the sand and then compact it to form a tightly compacted layer that is perfect level or as close as you can get to it. Making sure each layer is level is vital to the finished product. If one layer ends up being off kilter then every other layer you add on top of it will be off as well. The final result will be a shed that sits tilted and may end up being damaged.
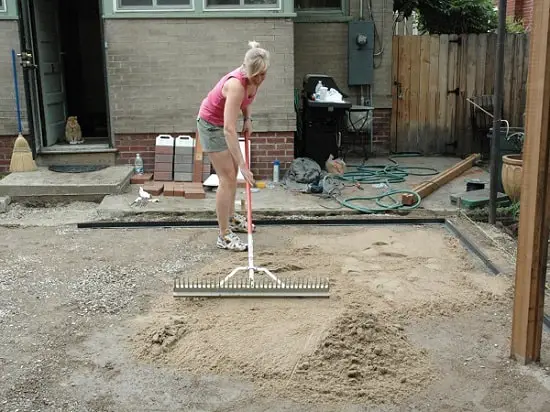
Sand pavement - Image courtesy of the DIY Network
It's Paver Time
Lay the pavers in the appropriate pattern covering the entire area and check each for level with the others. If you find any that are not level, you can use the rubber mallet to tap them down at each corner until they are level. Take your time with this step as any paver that happens to be out of level might crack or break once the shed is put in place, leaving a weak spot in your finished foundation.
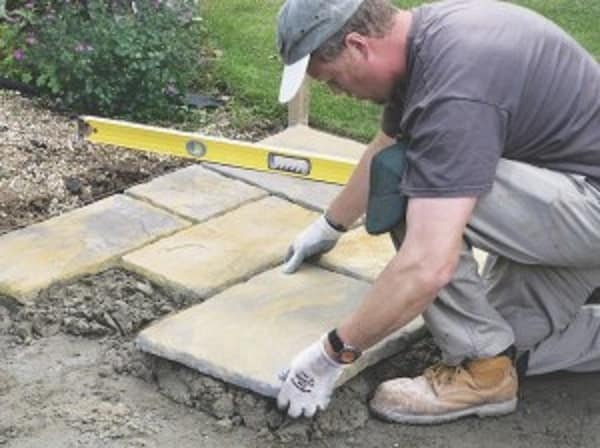
Laying a paver shed foundation - Image courtesy of Paving Directory
Add the Border
Whether you decided on the plastic or metal garden border, take it and install it around the outer edges of the pavers. It needs to be placed as close as possible to the pavers, any gap only leaves a place for weeds to grow. Anchor the border to the ground using the spikes provided with it or stakes you have purchased separately.
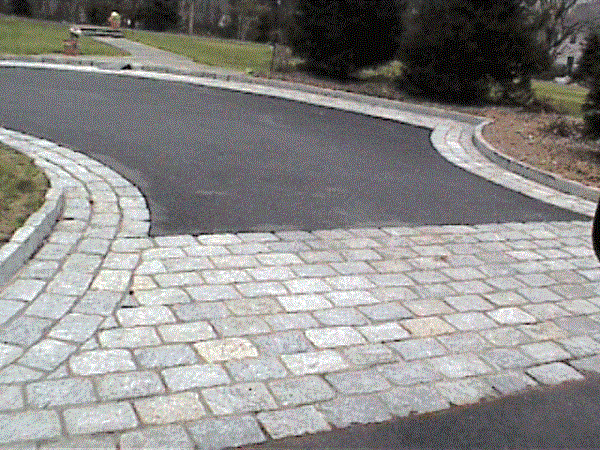
Pavement border - Image courtesy of Pinterest
Finishing Up
Spread a layer of the cement and sand mixture used in the foundation over the top of the pavers. Use a broom to spread the sand into the gaps, filling them in until they are flush with the pavers. Using your garden hose and a fine mist nozzle, lightly dampen the entire surface of your new paver shed foundation and walk away.
The water will cause the blend of sand and cement to solidify, permanently holding the pavers in place and creating an exceptionally strong foundation. It will also seal the gaps between the pavers, helping to keep water, ice, and snow from getting under the pavers and causing them to lift or crack. If you don't do this step, your foundation is likely to fail earlier than it should.
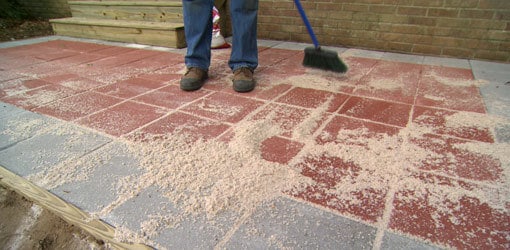
Patio pavers - Image courtesy of SmashingPlates.US
Extra Information You Need to Know
- If you have never created your own cement/sand mixture, it should be mixed in the ratio of one-part dry cement to eight parts dry sand.
- Once the sand/cement mix has filled in the gaps, sweep the rest of it off the pavers. This way they won't turn into a hardened mixture that will affect the way your shed sits on the pavers.
- The best way to lay pavers is to start in one corner and work your way out. Once you have the sand/cement level compacted in place, you should avoid walking on it as your footprints could affect the how level the pavers are when they are installed.
- Don't be tempted to use large size gravels such as 56s or 57s as they do not contain the extra fillers found in 21A and 21B gravels. These fillers help hold the gravel in place by filling in the air gaps between each piece of gravel. Their absence will allow the gravel to shift as the soil erodes over the course of time.
- Your finished foundation should be at least 12 to 18 inches larger on each side than the shed to help reduce the risk of ground erosion and to keep your shed nice and level.
Conclusion
There is a fair amount of work involved in laying a paver shed foundation. However, when you are done and sitting back looking at your new foundation, you will find all the hard work more than worth it. Of anything you can do when building your foundation, making sure each subsequent level is as level as you can possibly make it is the most important.
A tilted shed may have doors that don’t open and close properly, windows that won't work, and poor water drainage. Take your time with every step and you will have a paver shed foundation that might just outlast a shed or two.
If this has helped you with building your shed. Please let me know by contacting me here. You can see more ZacsGarden on Facebook or Pinterest. Thanks for reading.
Related Articles:

